For technical reasons we only support read-only access, which means you can only download, stream or open your files, but you cannot upload, edit or move files.
WebDAV allows you to integrate your Premiumize.me Cloud directly into Kodi. So you can add your movies, series, photos or music from your cloud directly to your Kodi library.
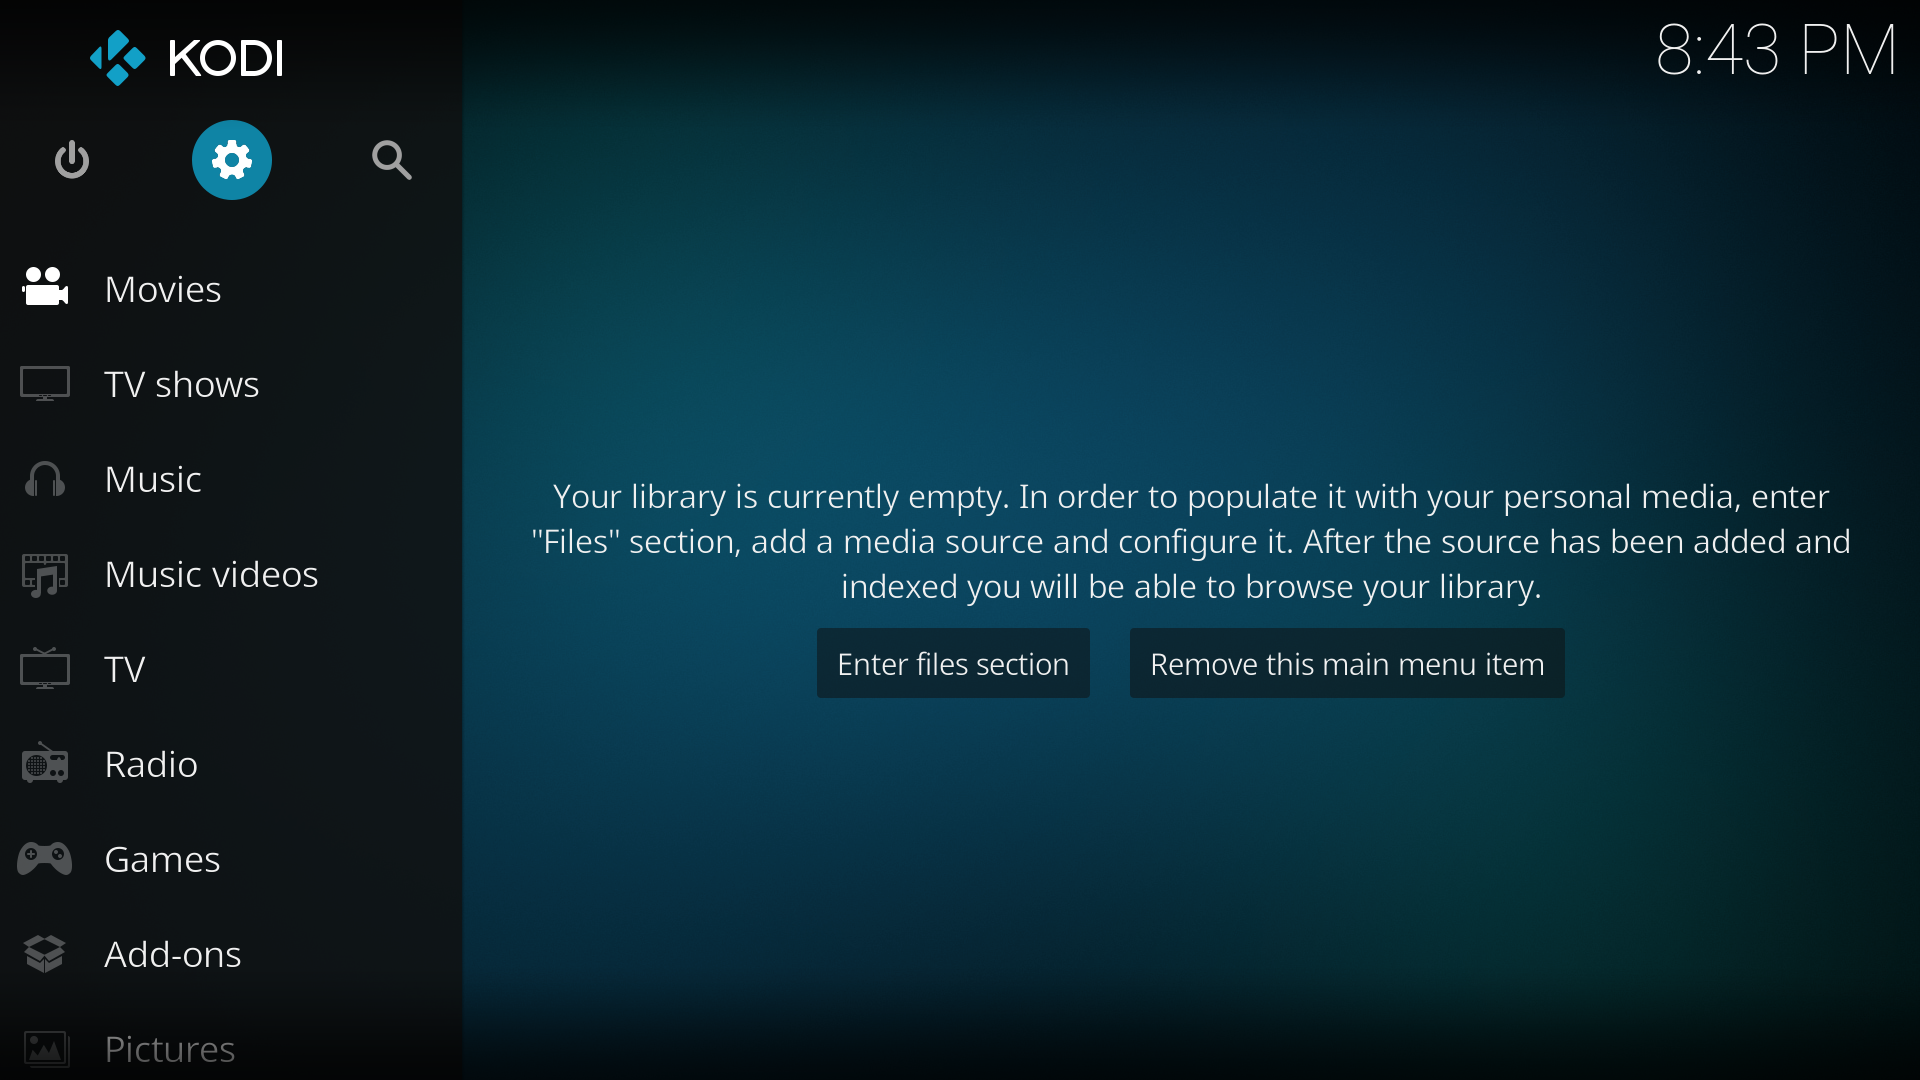
Step 1
First of all you have to open the settings, using the little settings icon.
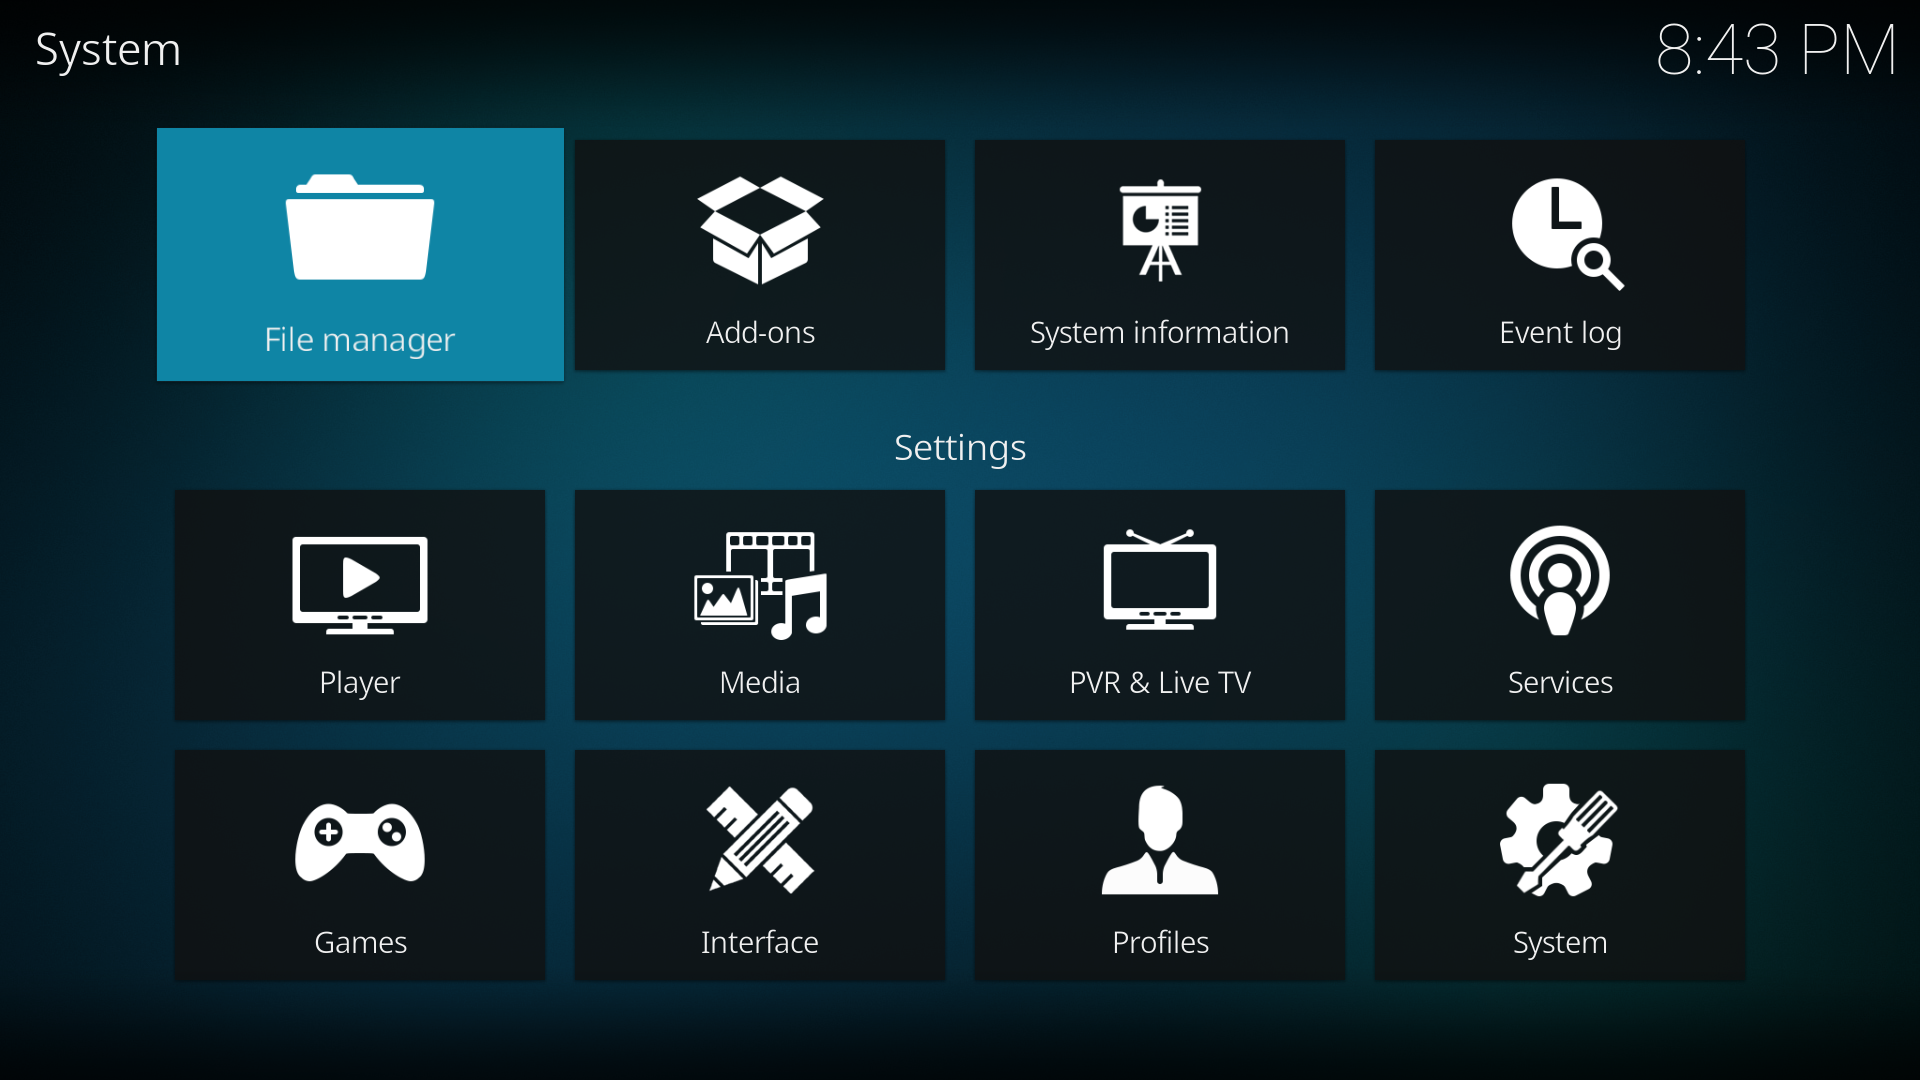
Step 2
Now open the File manager.
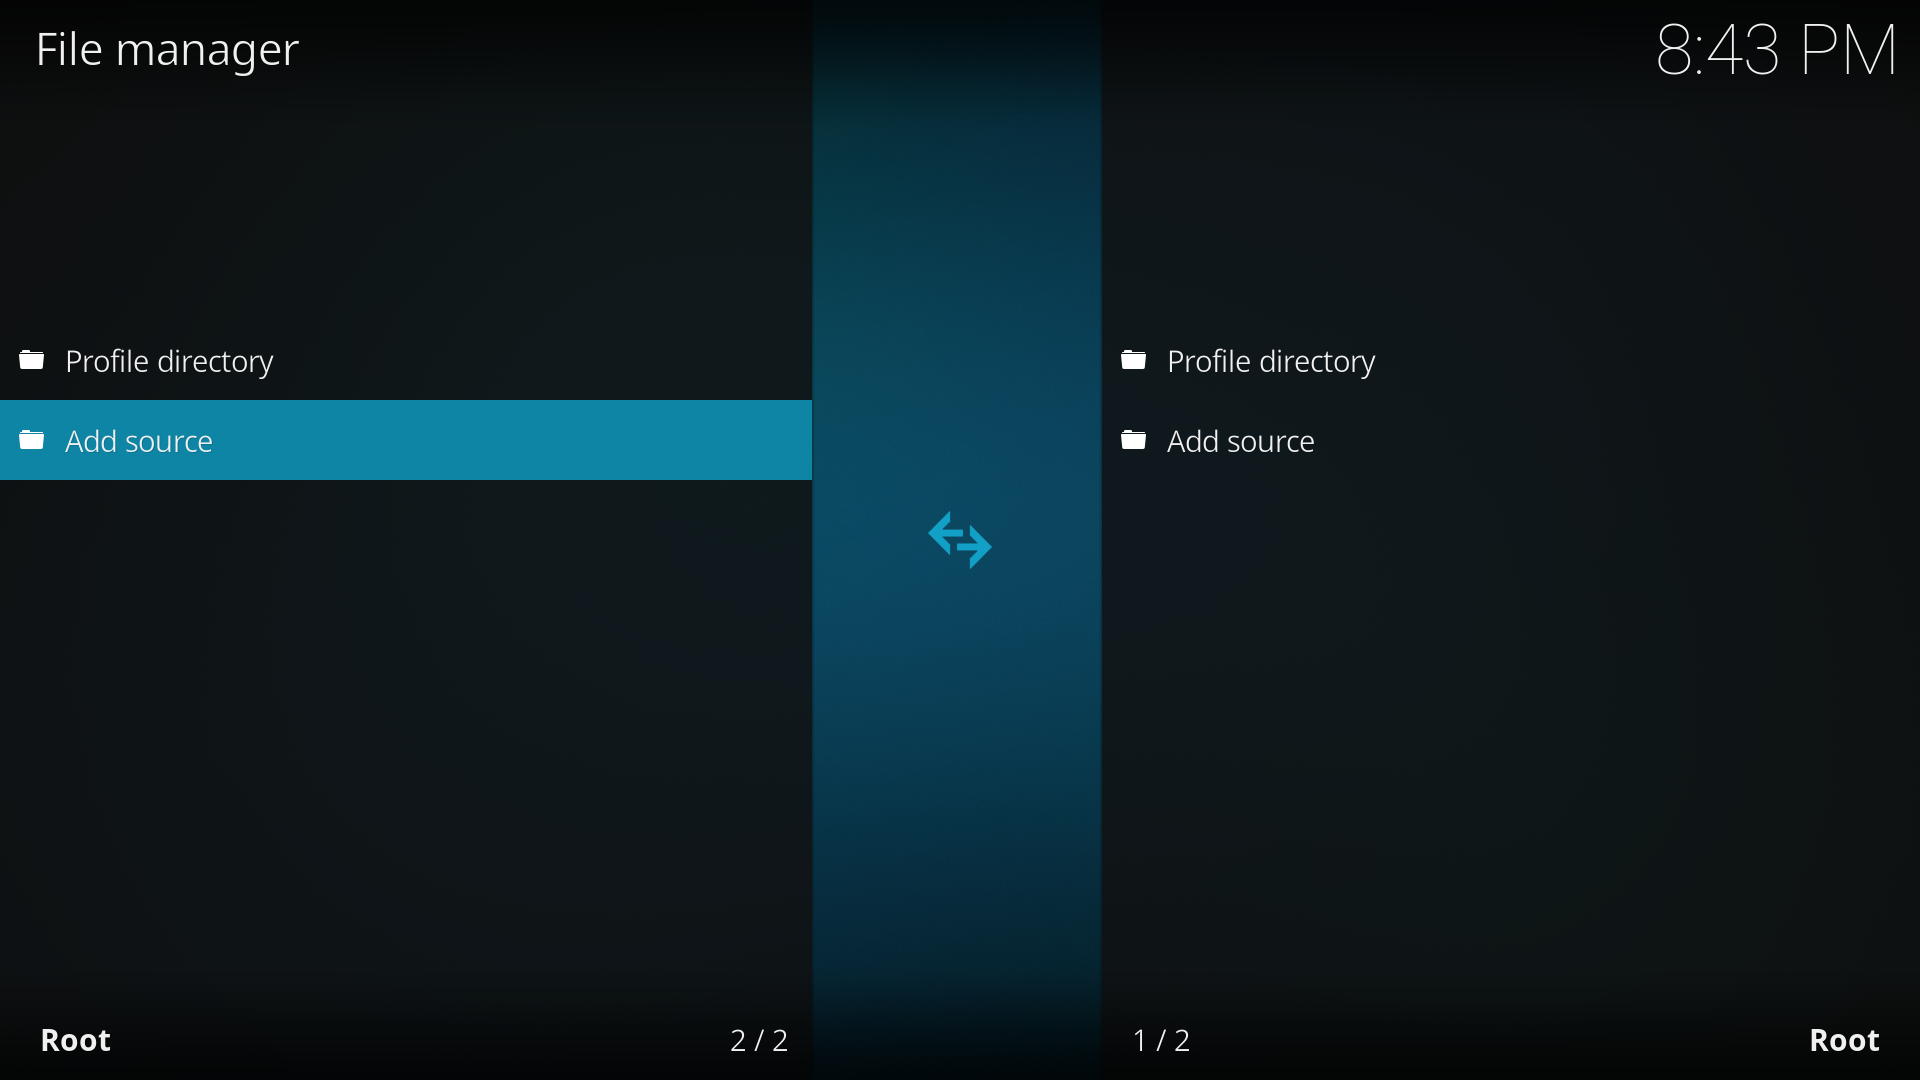
Step 3
Add a new source.
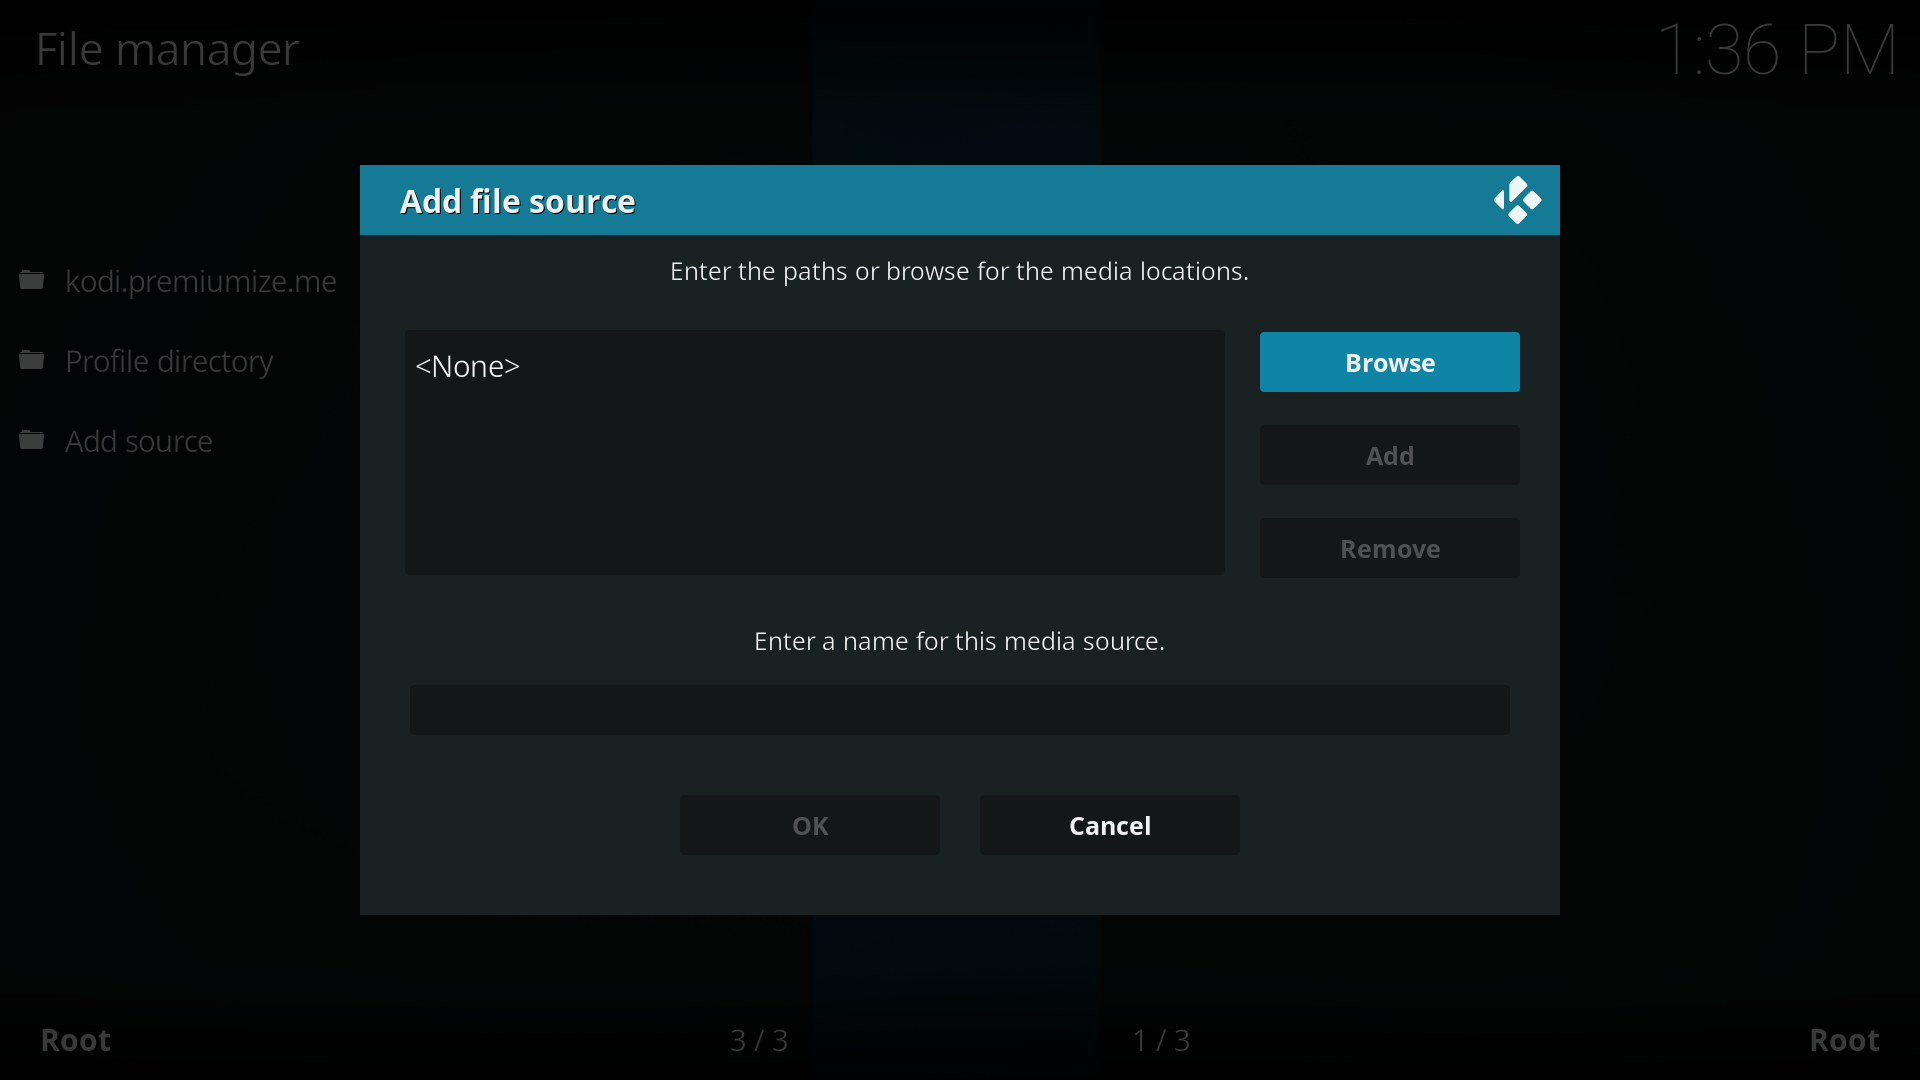
Step 4
Click on Browse to add a new source.
Step 5
Add a new network location.
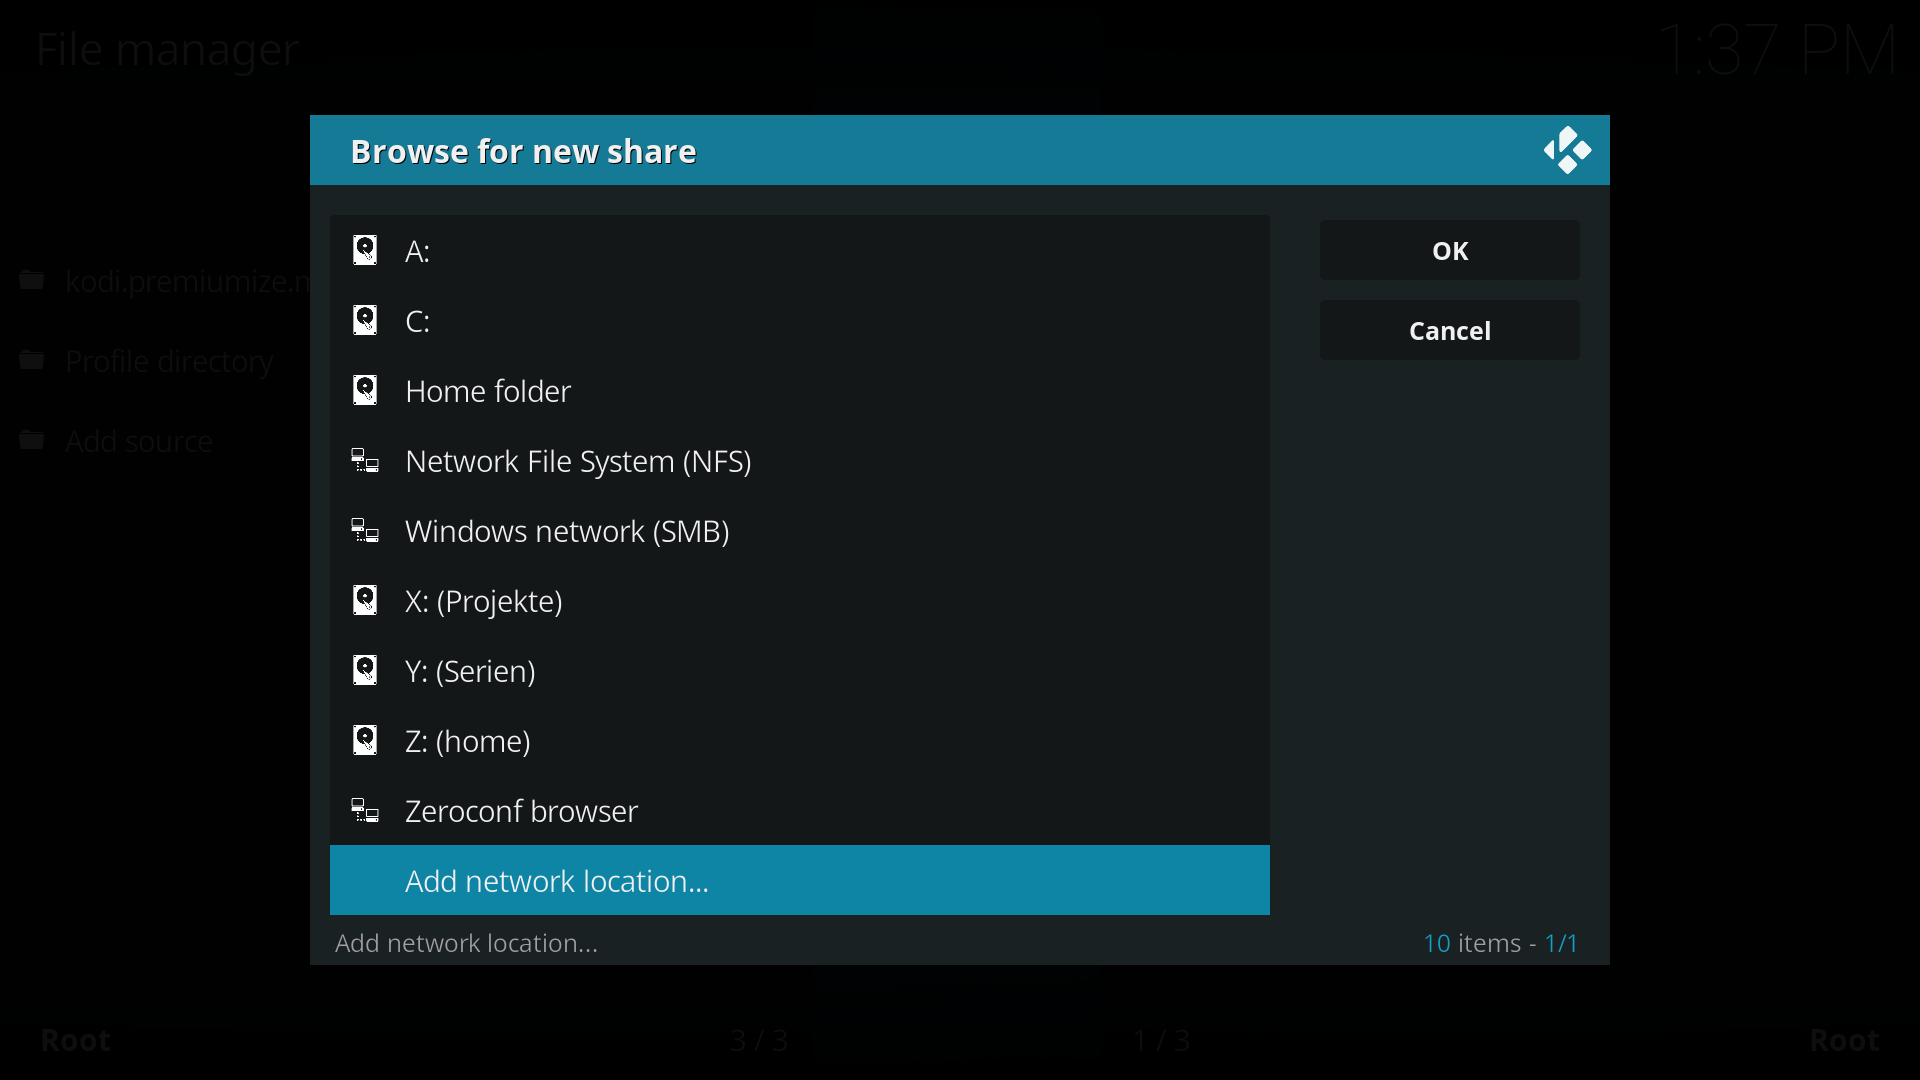
Step 6
Enter the following settings for WebDAV:
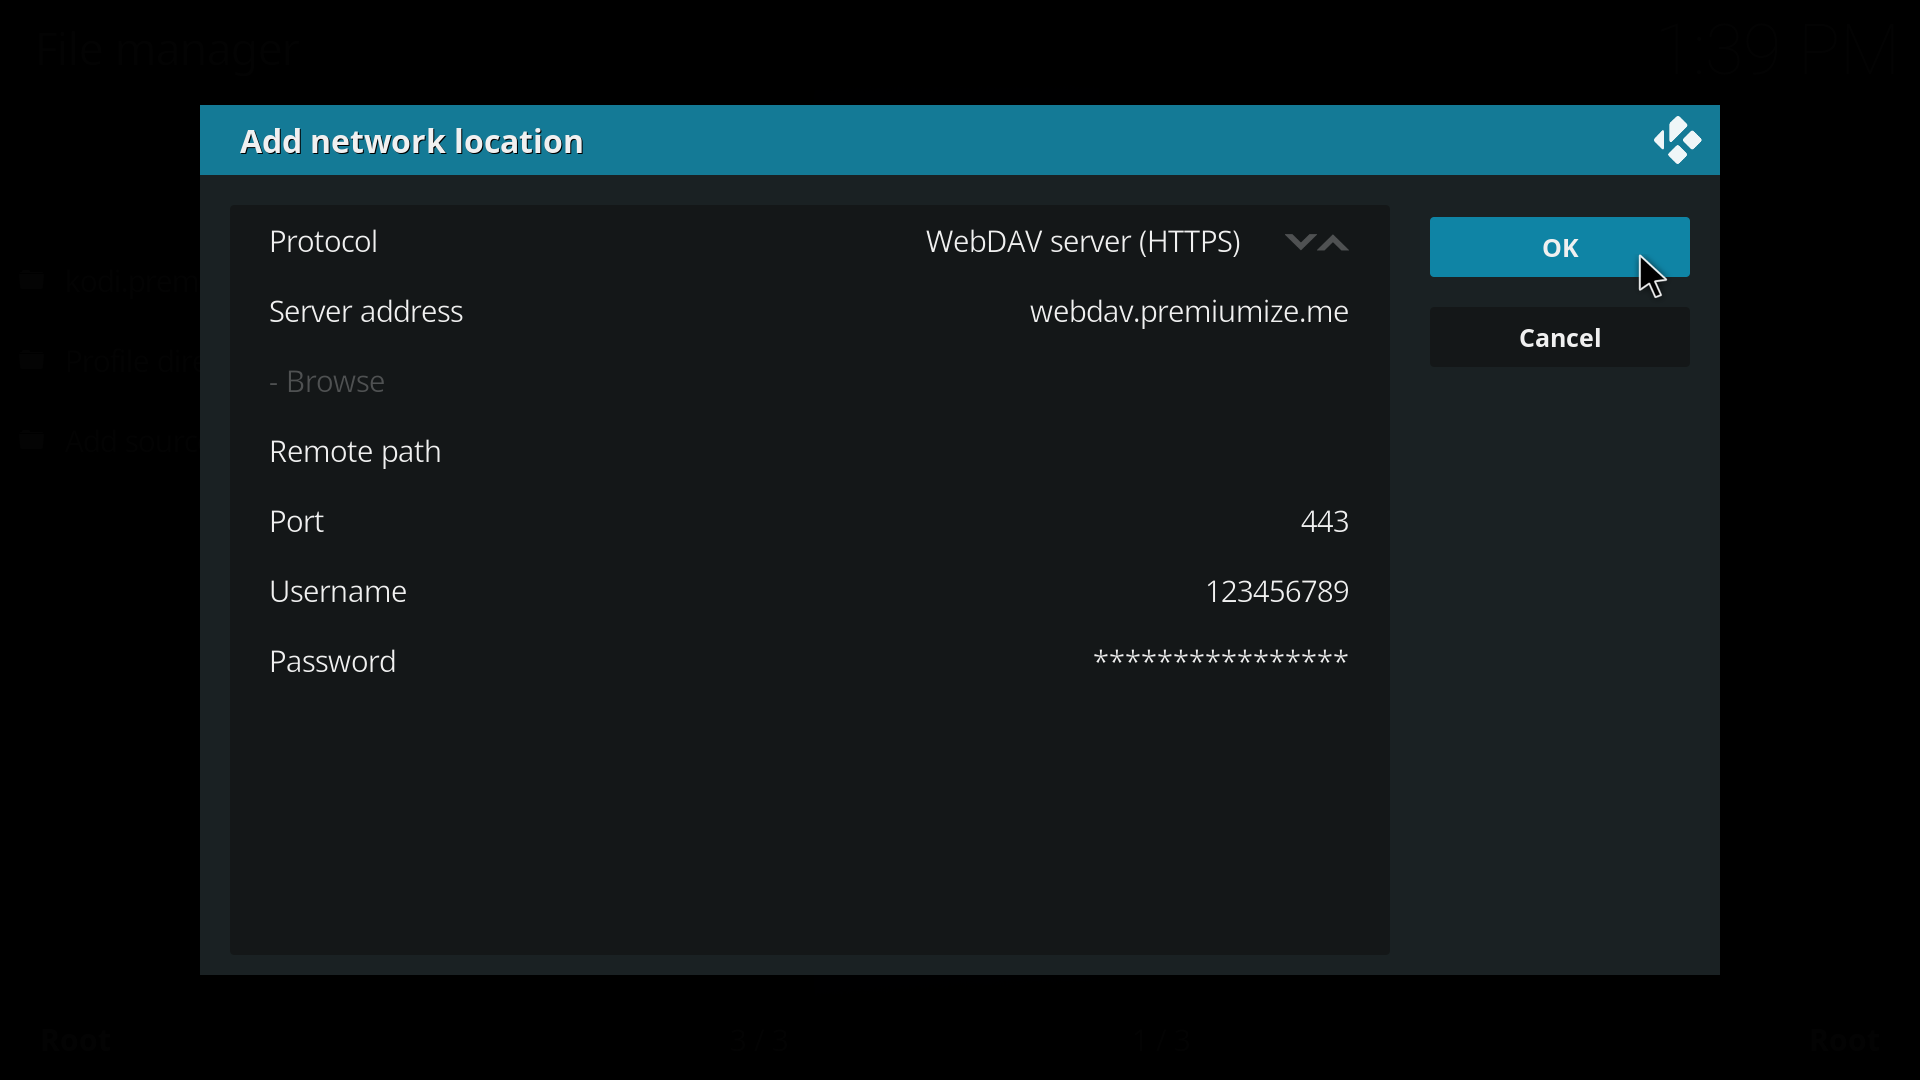
- Protocol: WebDAV server (HTTPS)
- Server address: webdav.premiumize.me
- Port: 443
- Username: your customer id
- Password: your API Key
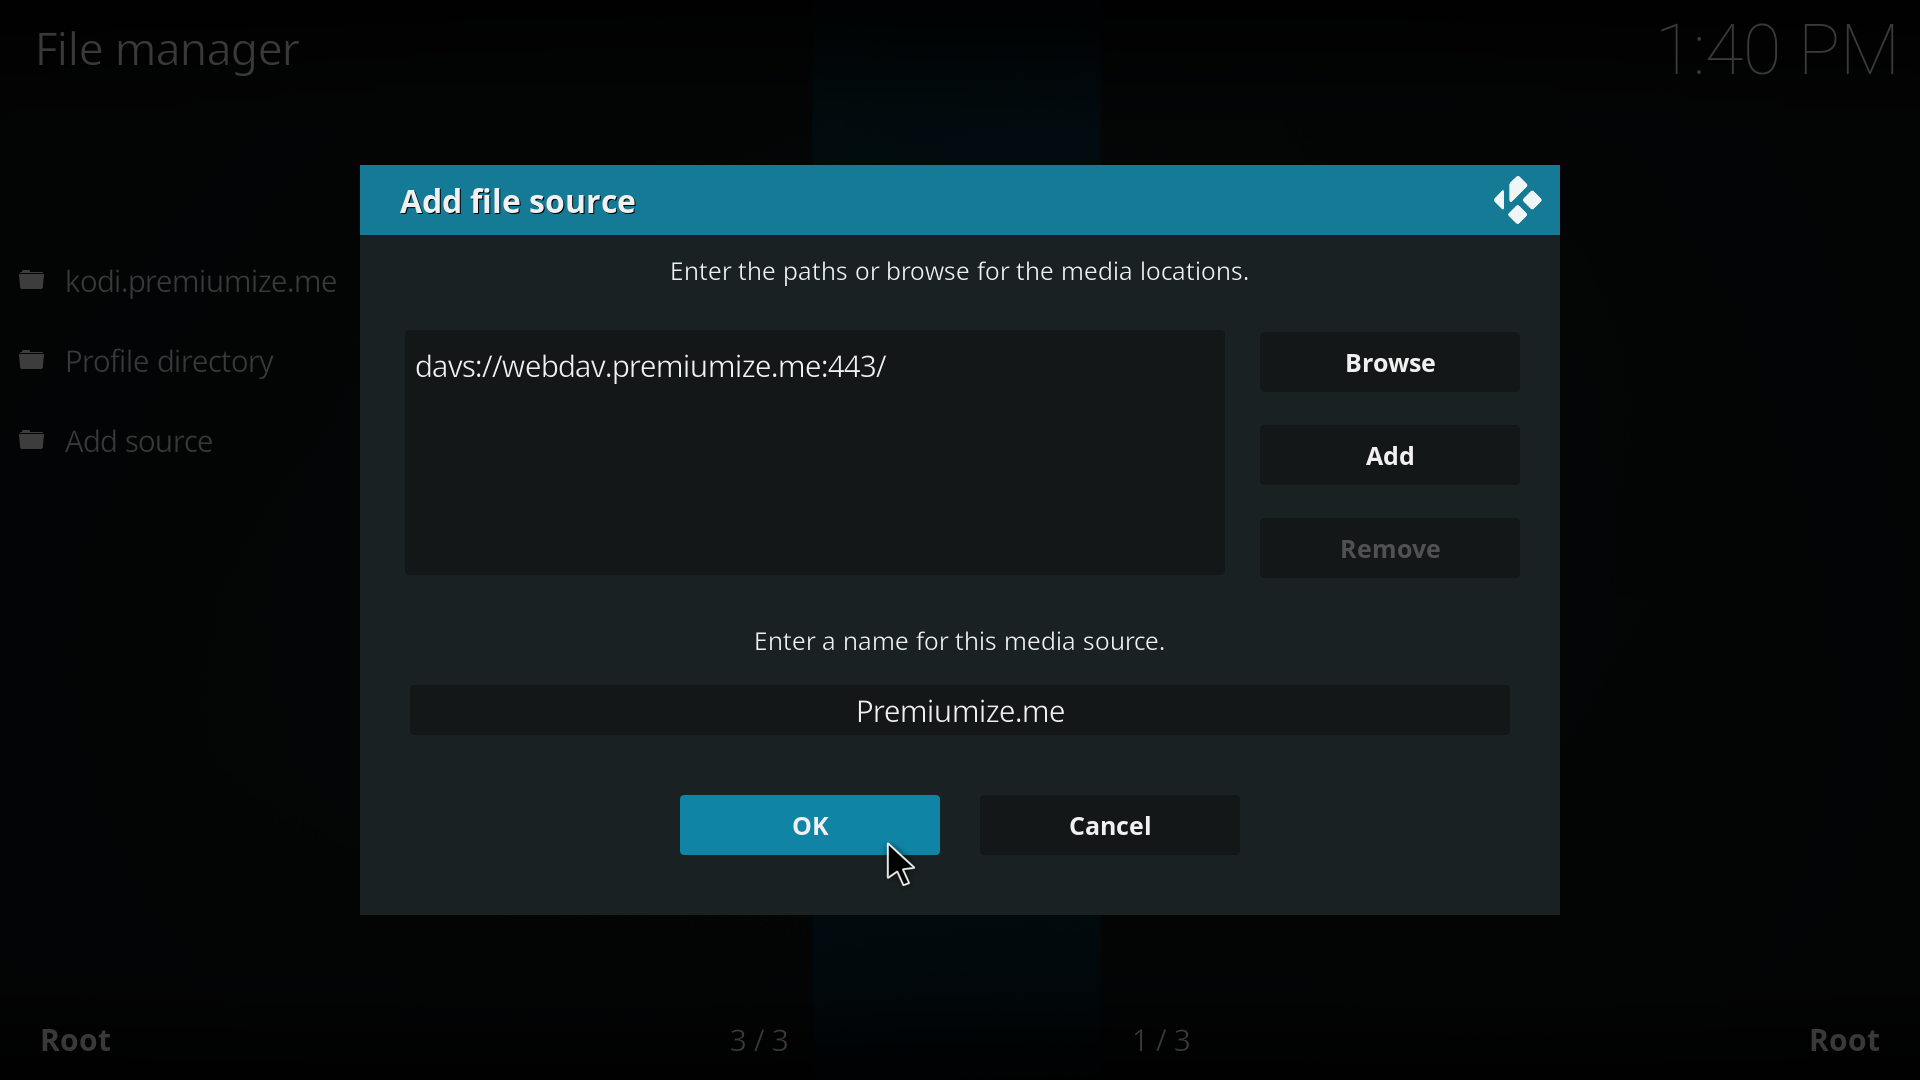
Step 7
Now enter a name for this media source and click ok.
That's it. You can now use this source like any other source you are already using.
This tutorial was created for version 18.3 on Windows 10, so images in later versions may differ slightly, but the functionality should be the same. If not, please contact our customer service so that we can revise the tutorial and help you.